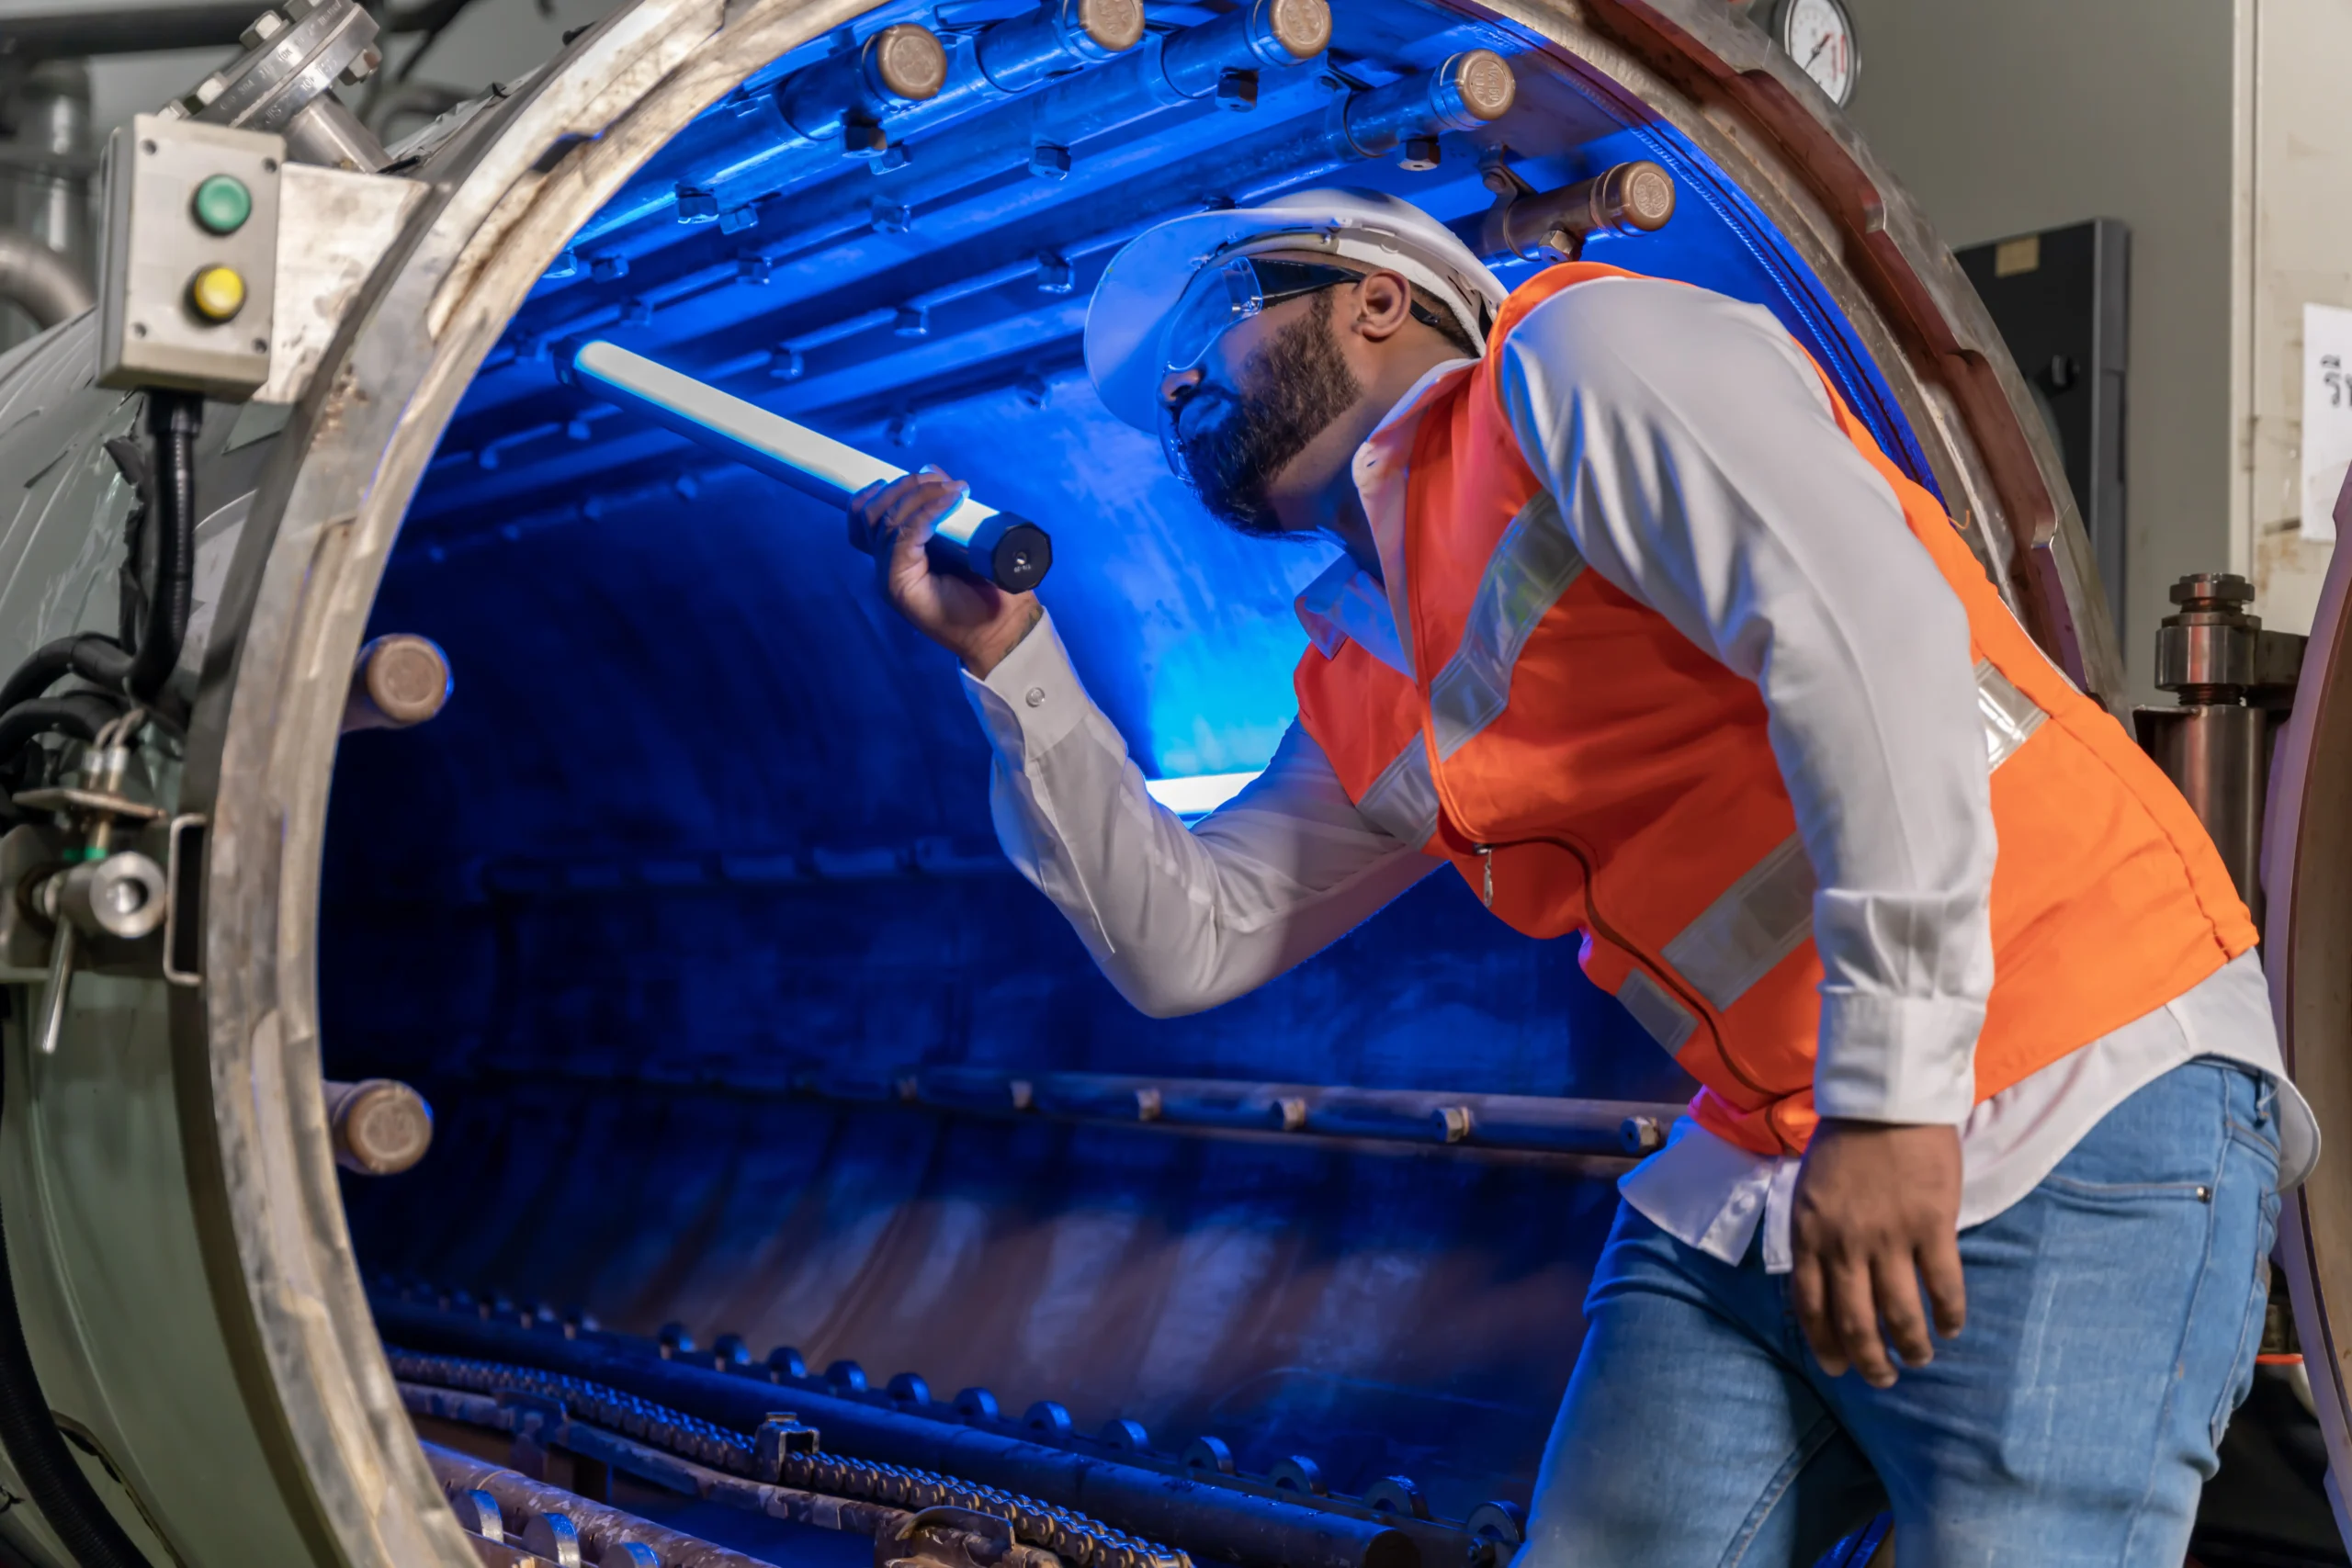
Conventional NDT used for internal Inspection!
Visual Inspection.

VT is the fastest and cheapest method of Non-destructive
testing. It’s the first step of every inspection before any
other Non-destructive test starts. When performing visual
test with naked eye, equipment such as magnifying glass,
light source, borescope, and mirror can also be used.
Ultrasonic Testing

Wall Thickness & Metal Loses measurements using UT Thickness Gauges includes A-scan feature to able to detect corrosion failure and display reading in Digital & A-scan view.
Magnetic Testing
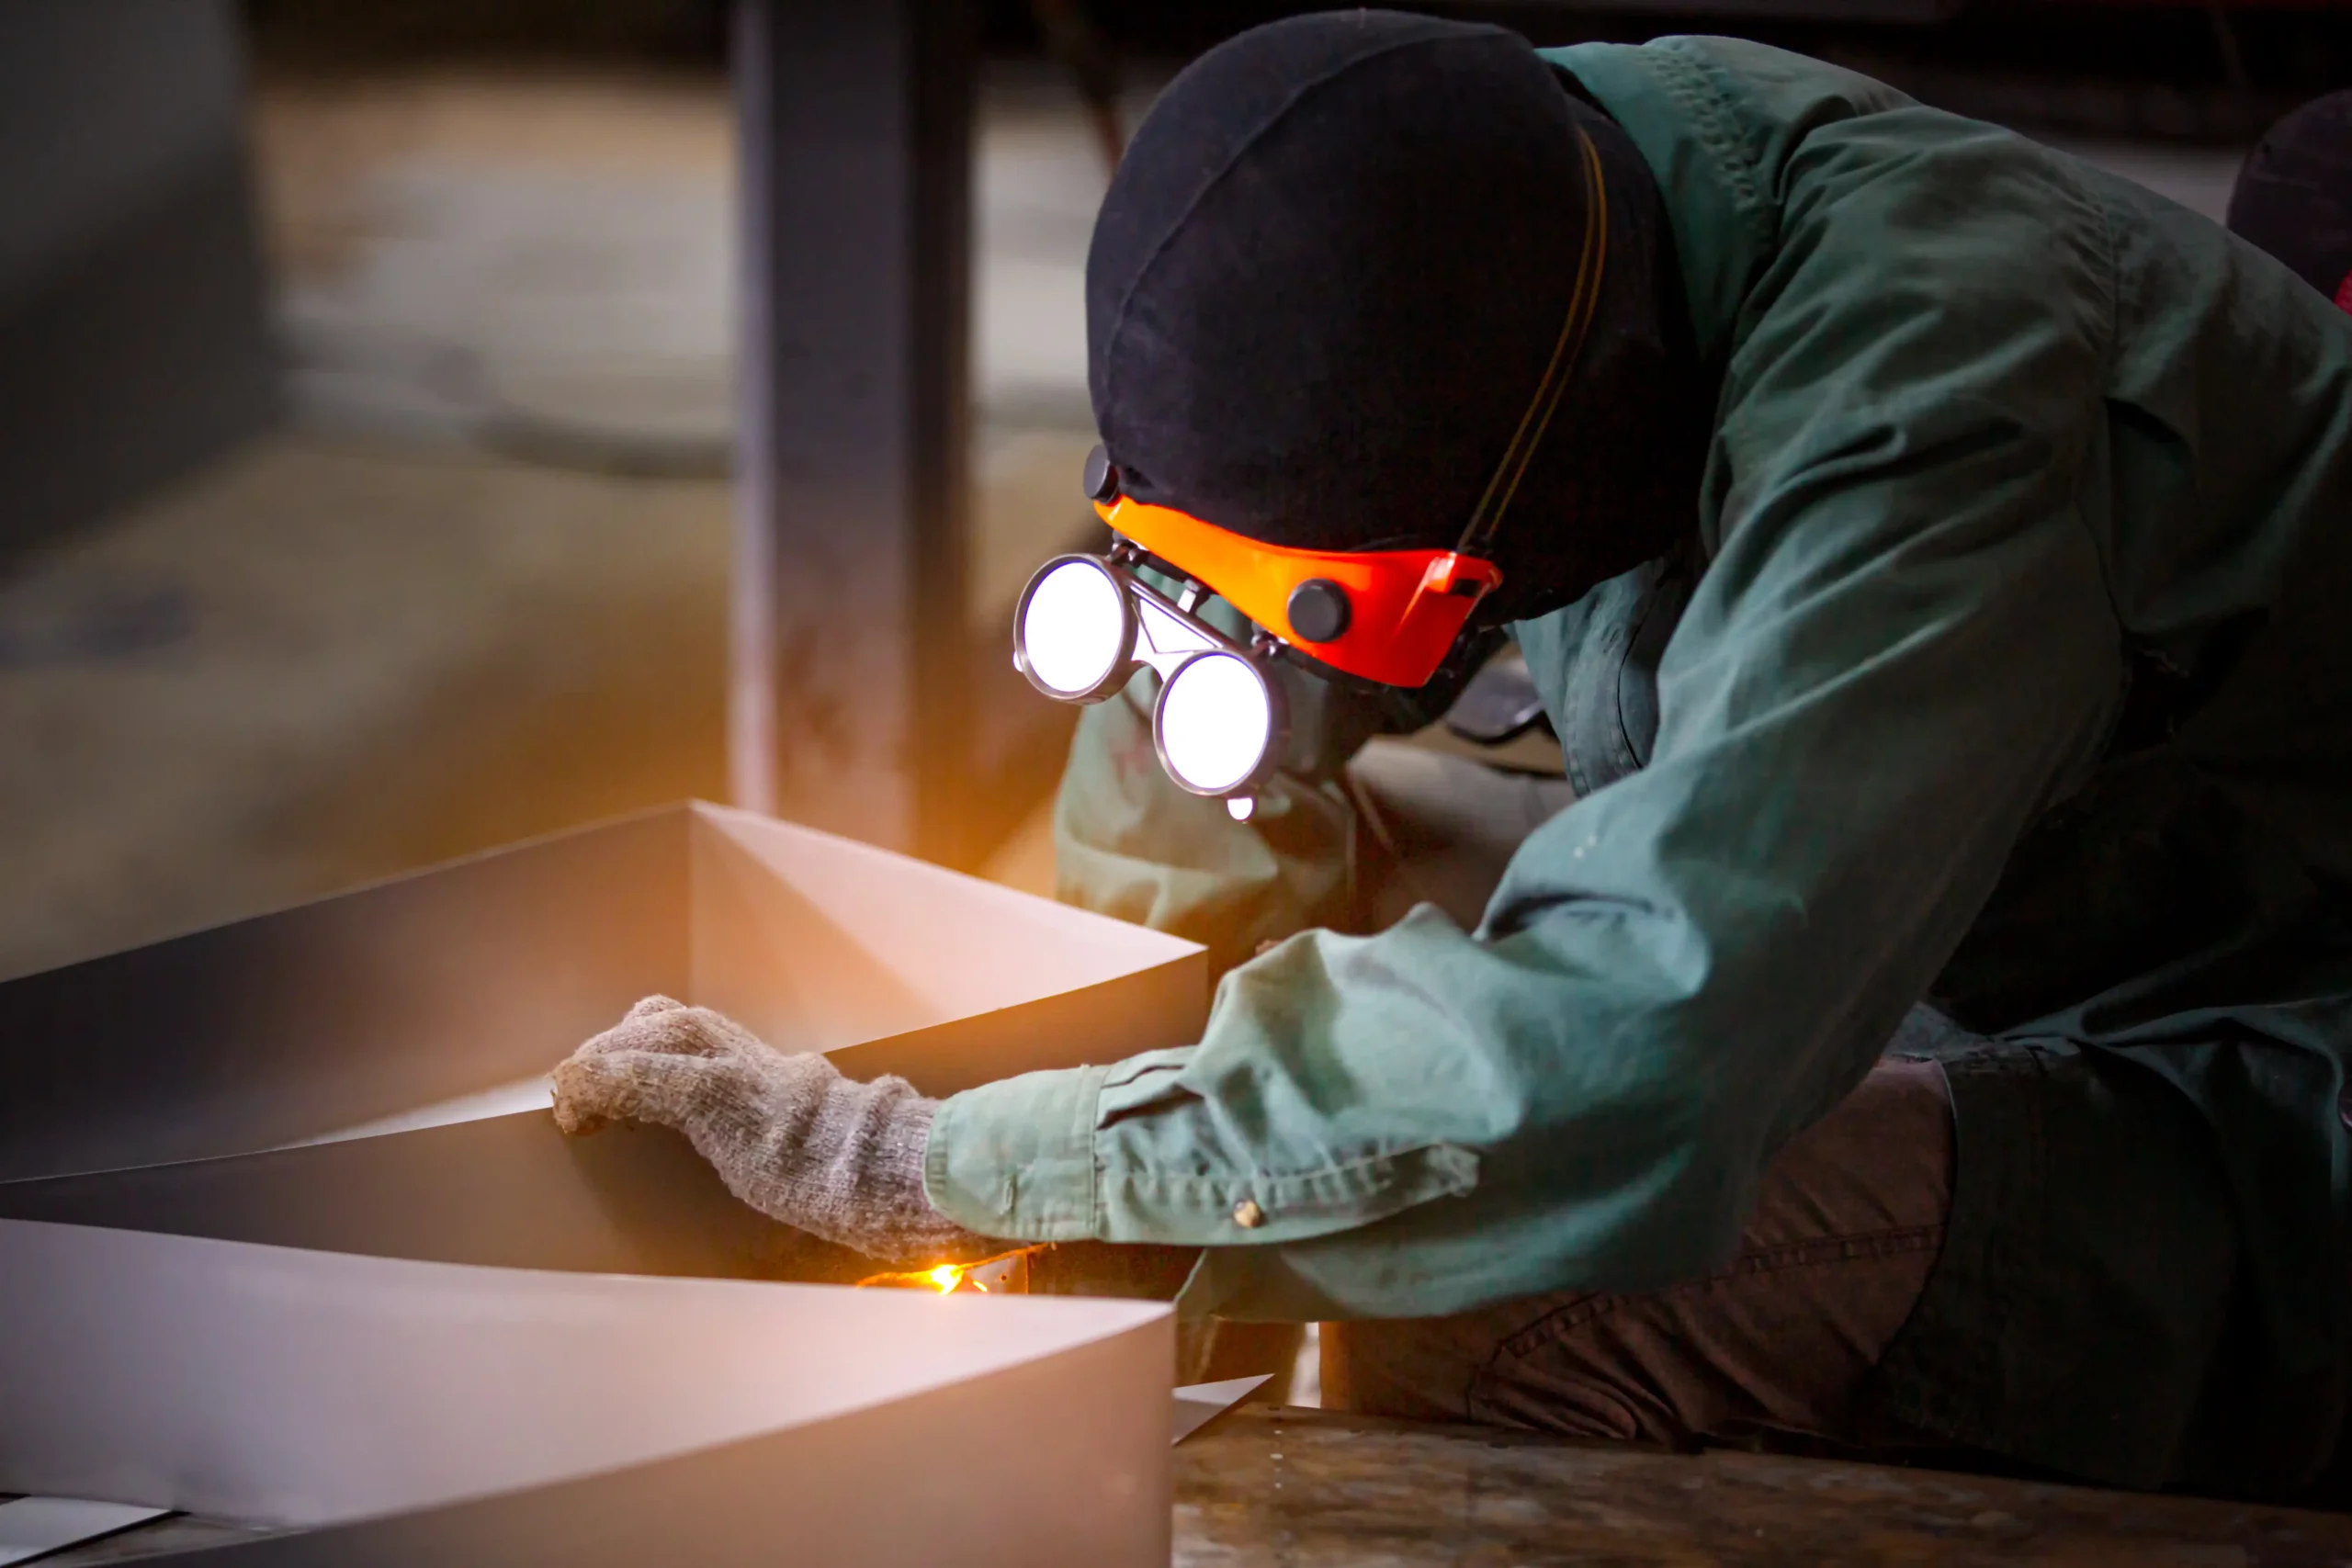
MT is essentially a surface –
type examination, although
some imperfections just below
the surface are detectable.
This type of examination is
limited to materials which can
be magnetized (hence it is not
appropriate for austenitic
stainless steels). An area to
be examined by magnetic
particle examination can be
completely examined or
examined on a random
sampling basis, as specified.
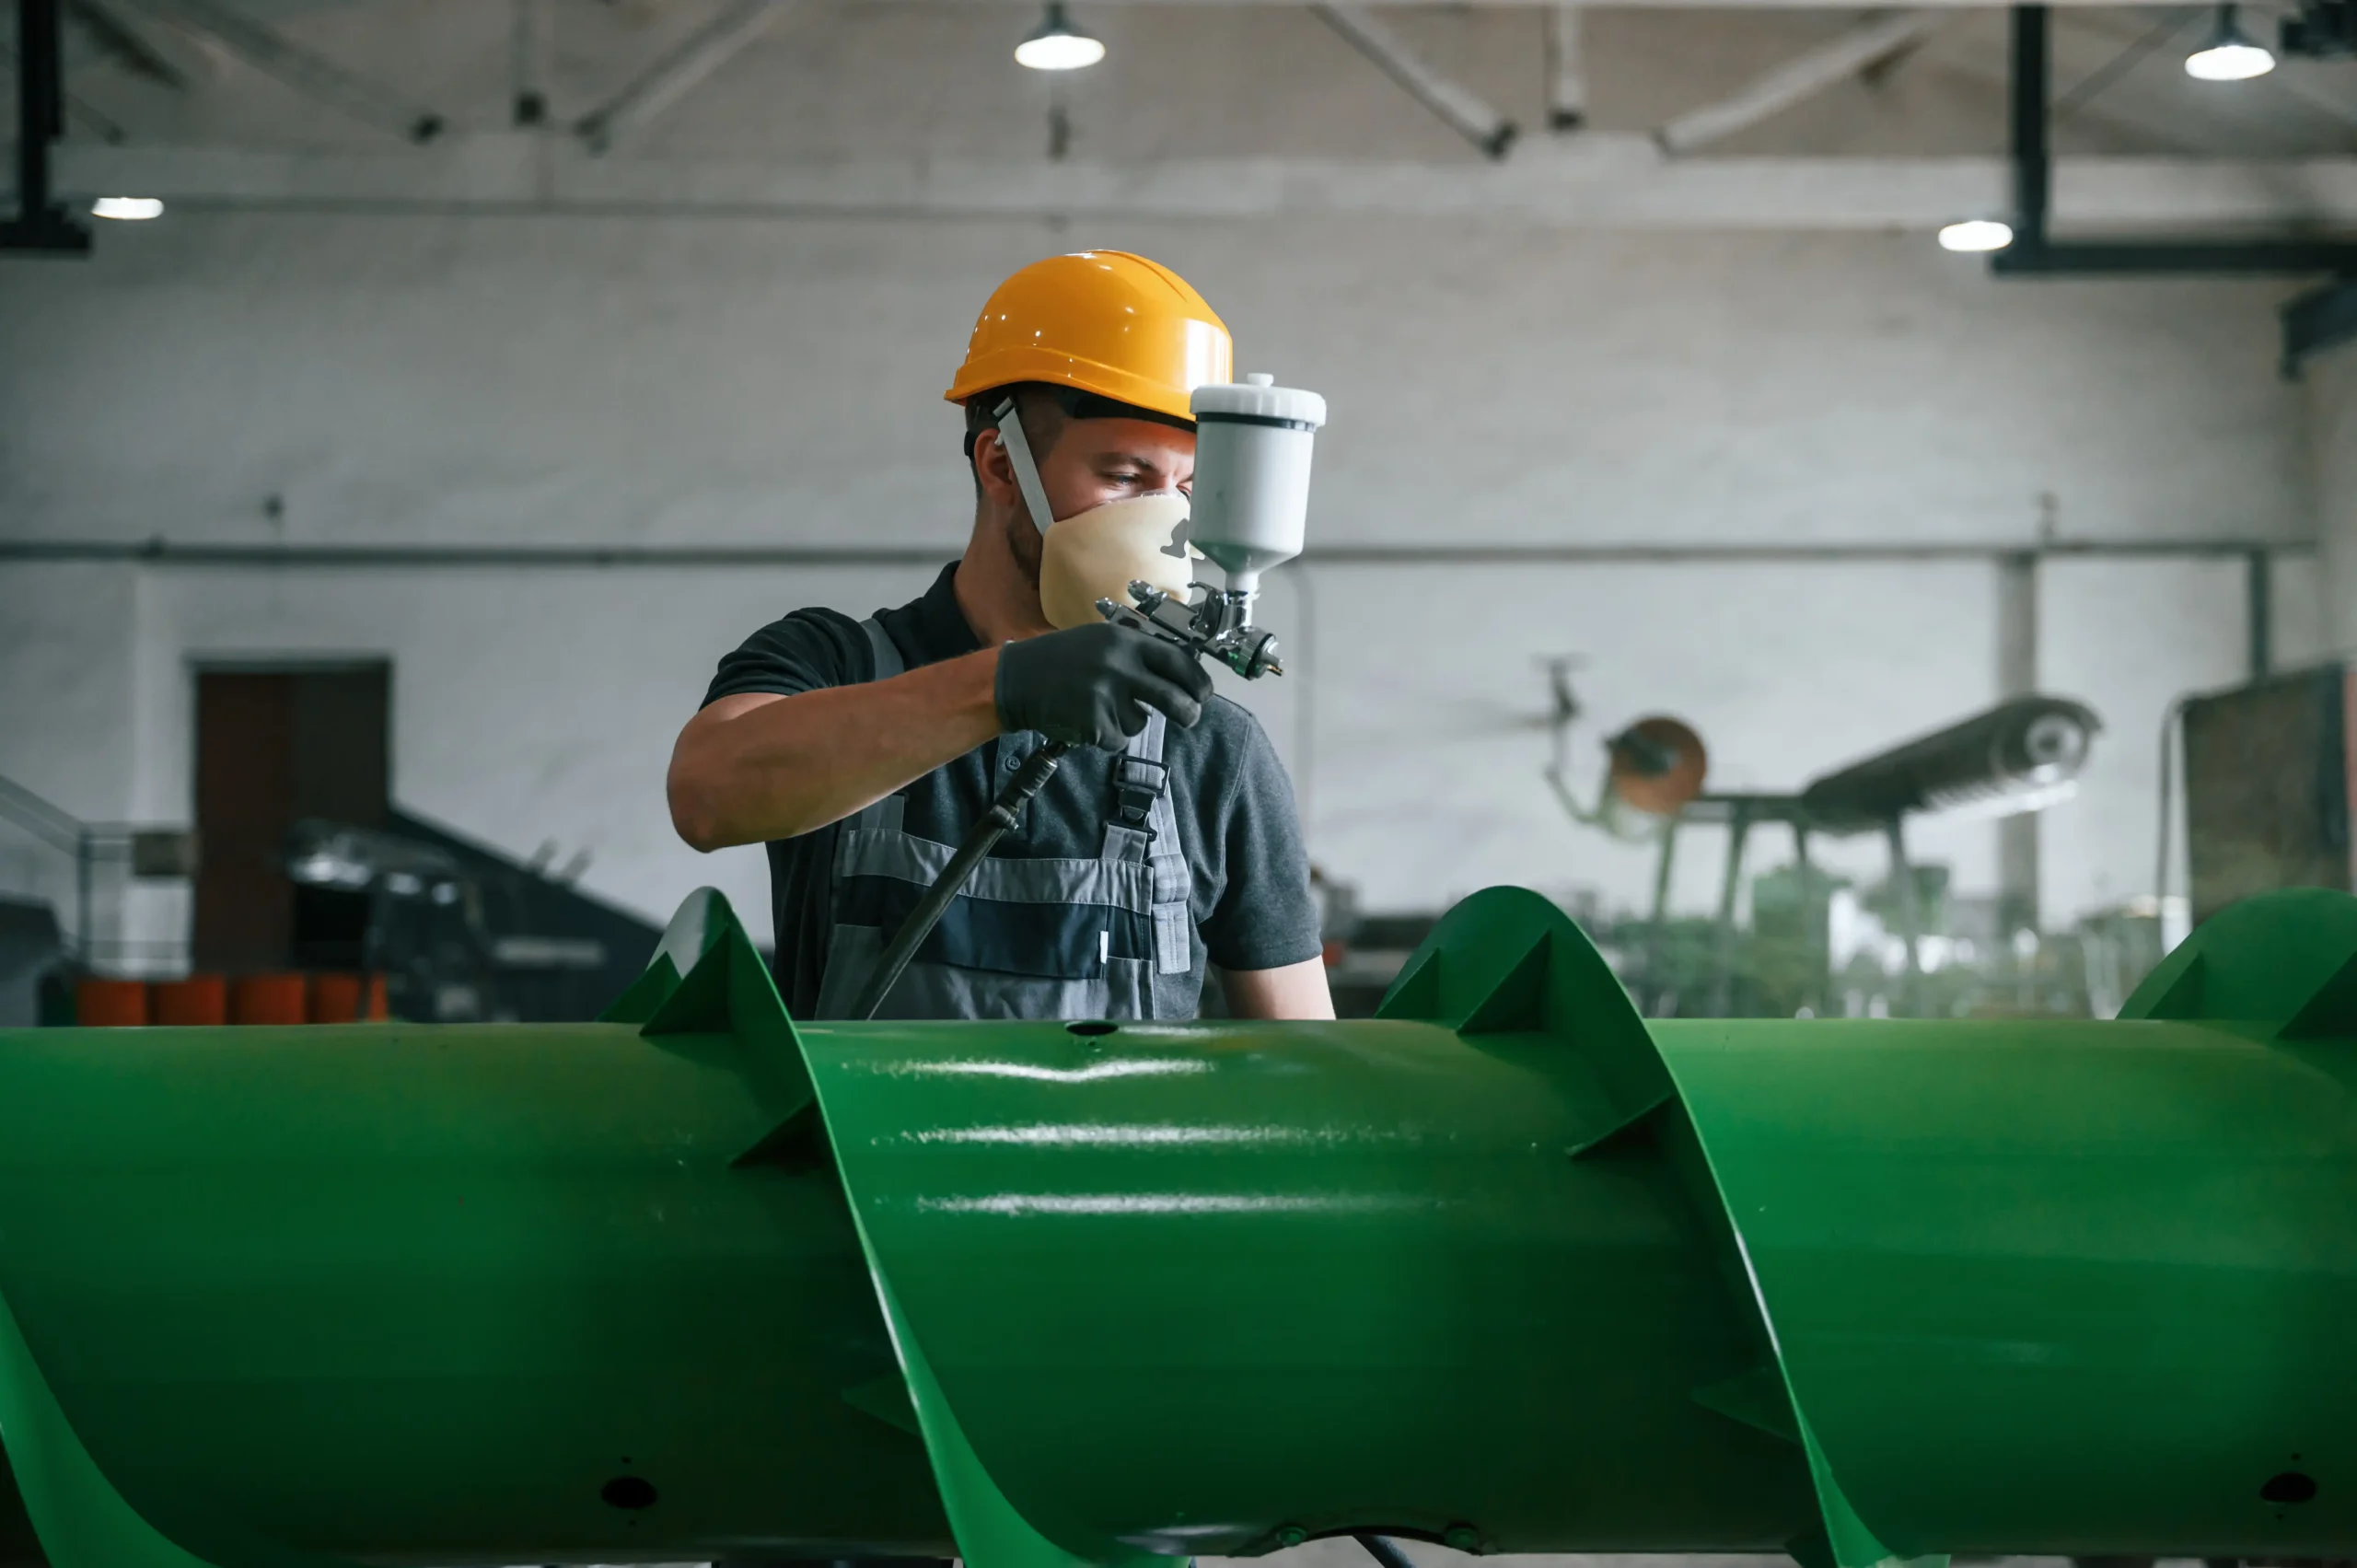
Penetrant Testing
MT is essentially a surface –
type examination, although
some imperfections just below
the surface are detectable.
This type of examination is
limited to materials which can
be magnetized (hence it is not
appropriate for austenitic
stainless steels). An area to
be examined by magnetic
particle examination can be
completely examined or
examined on a random
sampling basis, as specified.
Radiography Testing

Random R T X-ray or gamma ray
radiography may be used. The
selection of the method should be
dependent upon its adaptability to
work being radiographed. When
random radiography of welds is
specified by the engineering
design, it should be done on the
number of welds designated. The
engineering design shall specify
the extent to which each examined
weld should be radiographed.
Random radiography may also be
used for examination of piping
components such as a valve or
fitting to any extent specified by
the engineering design .